The Light Mask
A cover for N95 face mask that includes sewn-in programmable lights, powered by LilyPad Arduino.
Devised and constructed by Alexa Letourneau
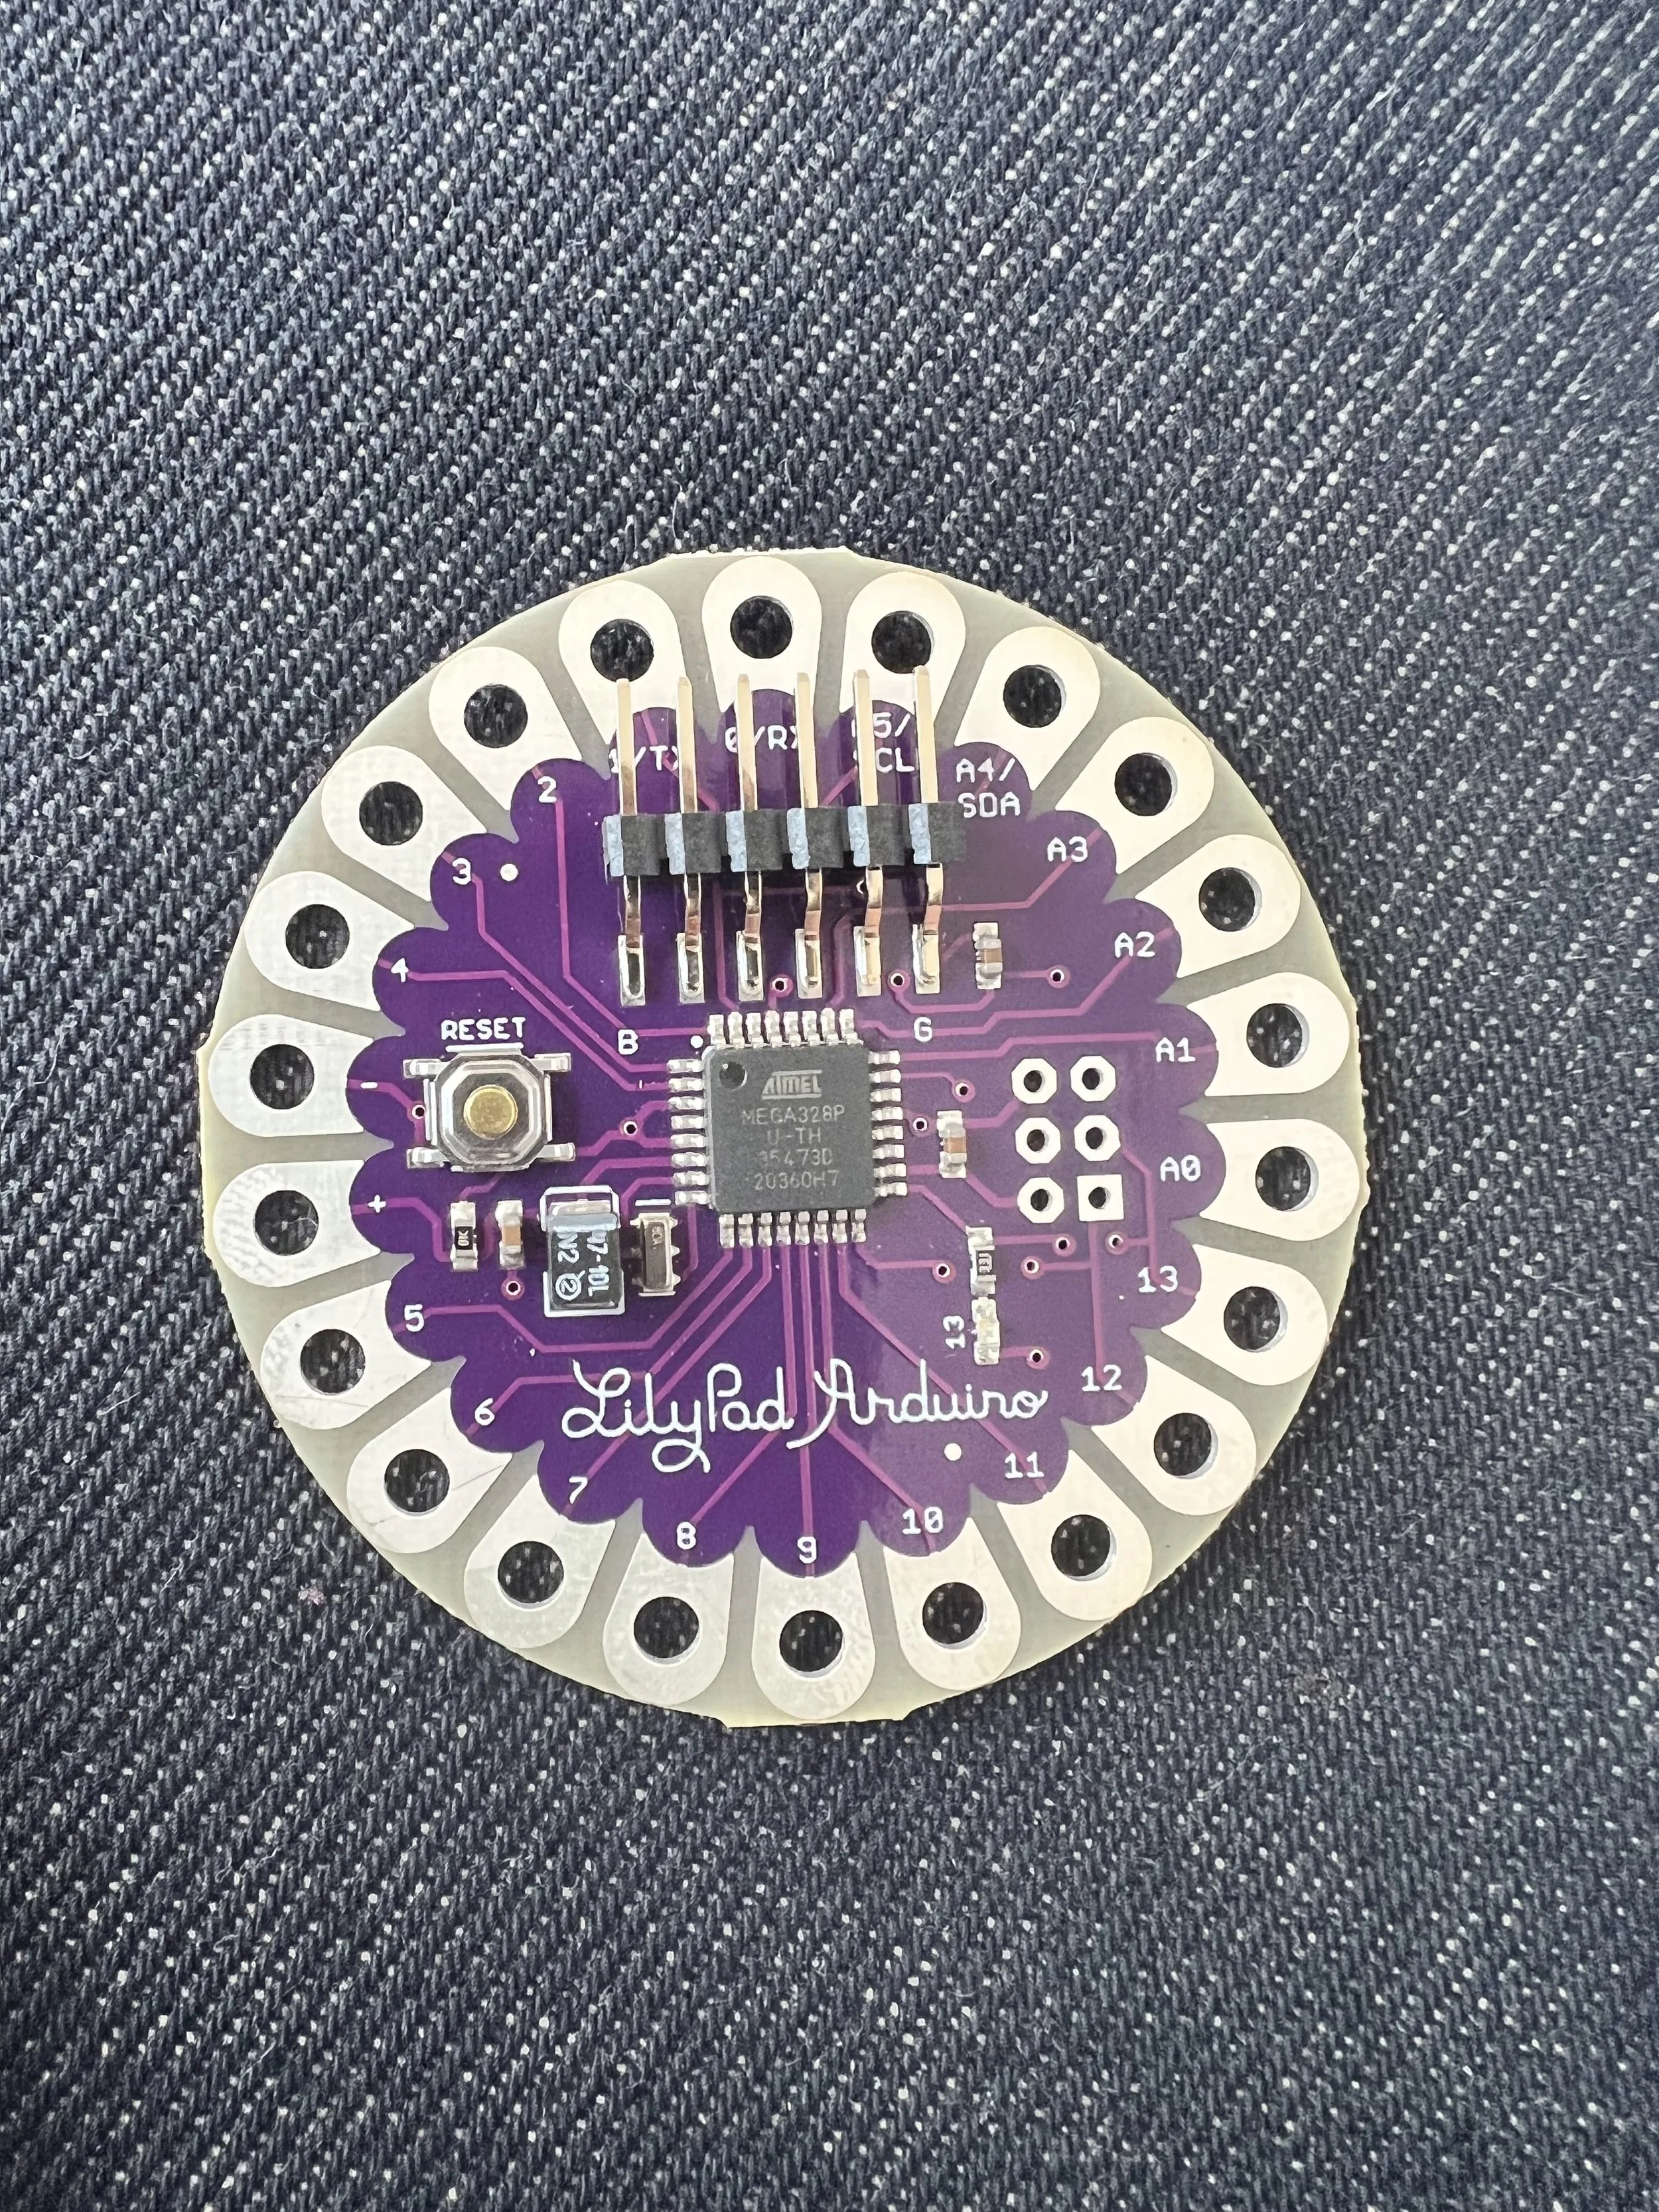
For this project, I wanted to create a wearable instrument that could interface with a static photo cell, turning movement into sound. The light control necessary was made possible through the use of a LilyPad Arduino, a microprocessor intended to be sewn in to fabric with conductive thread. Rather than pins, as one might see on another kind of Arduino, LilyPad has holes which one can sew through to form connections and circuits.
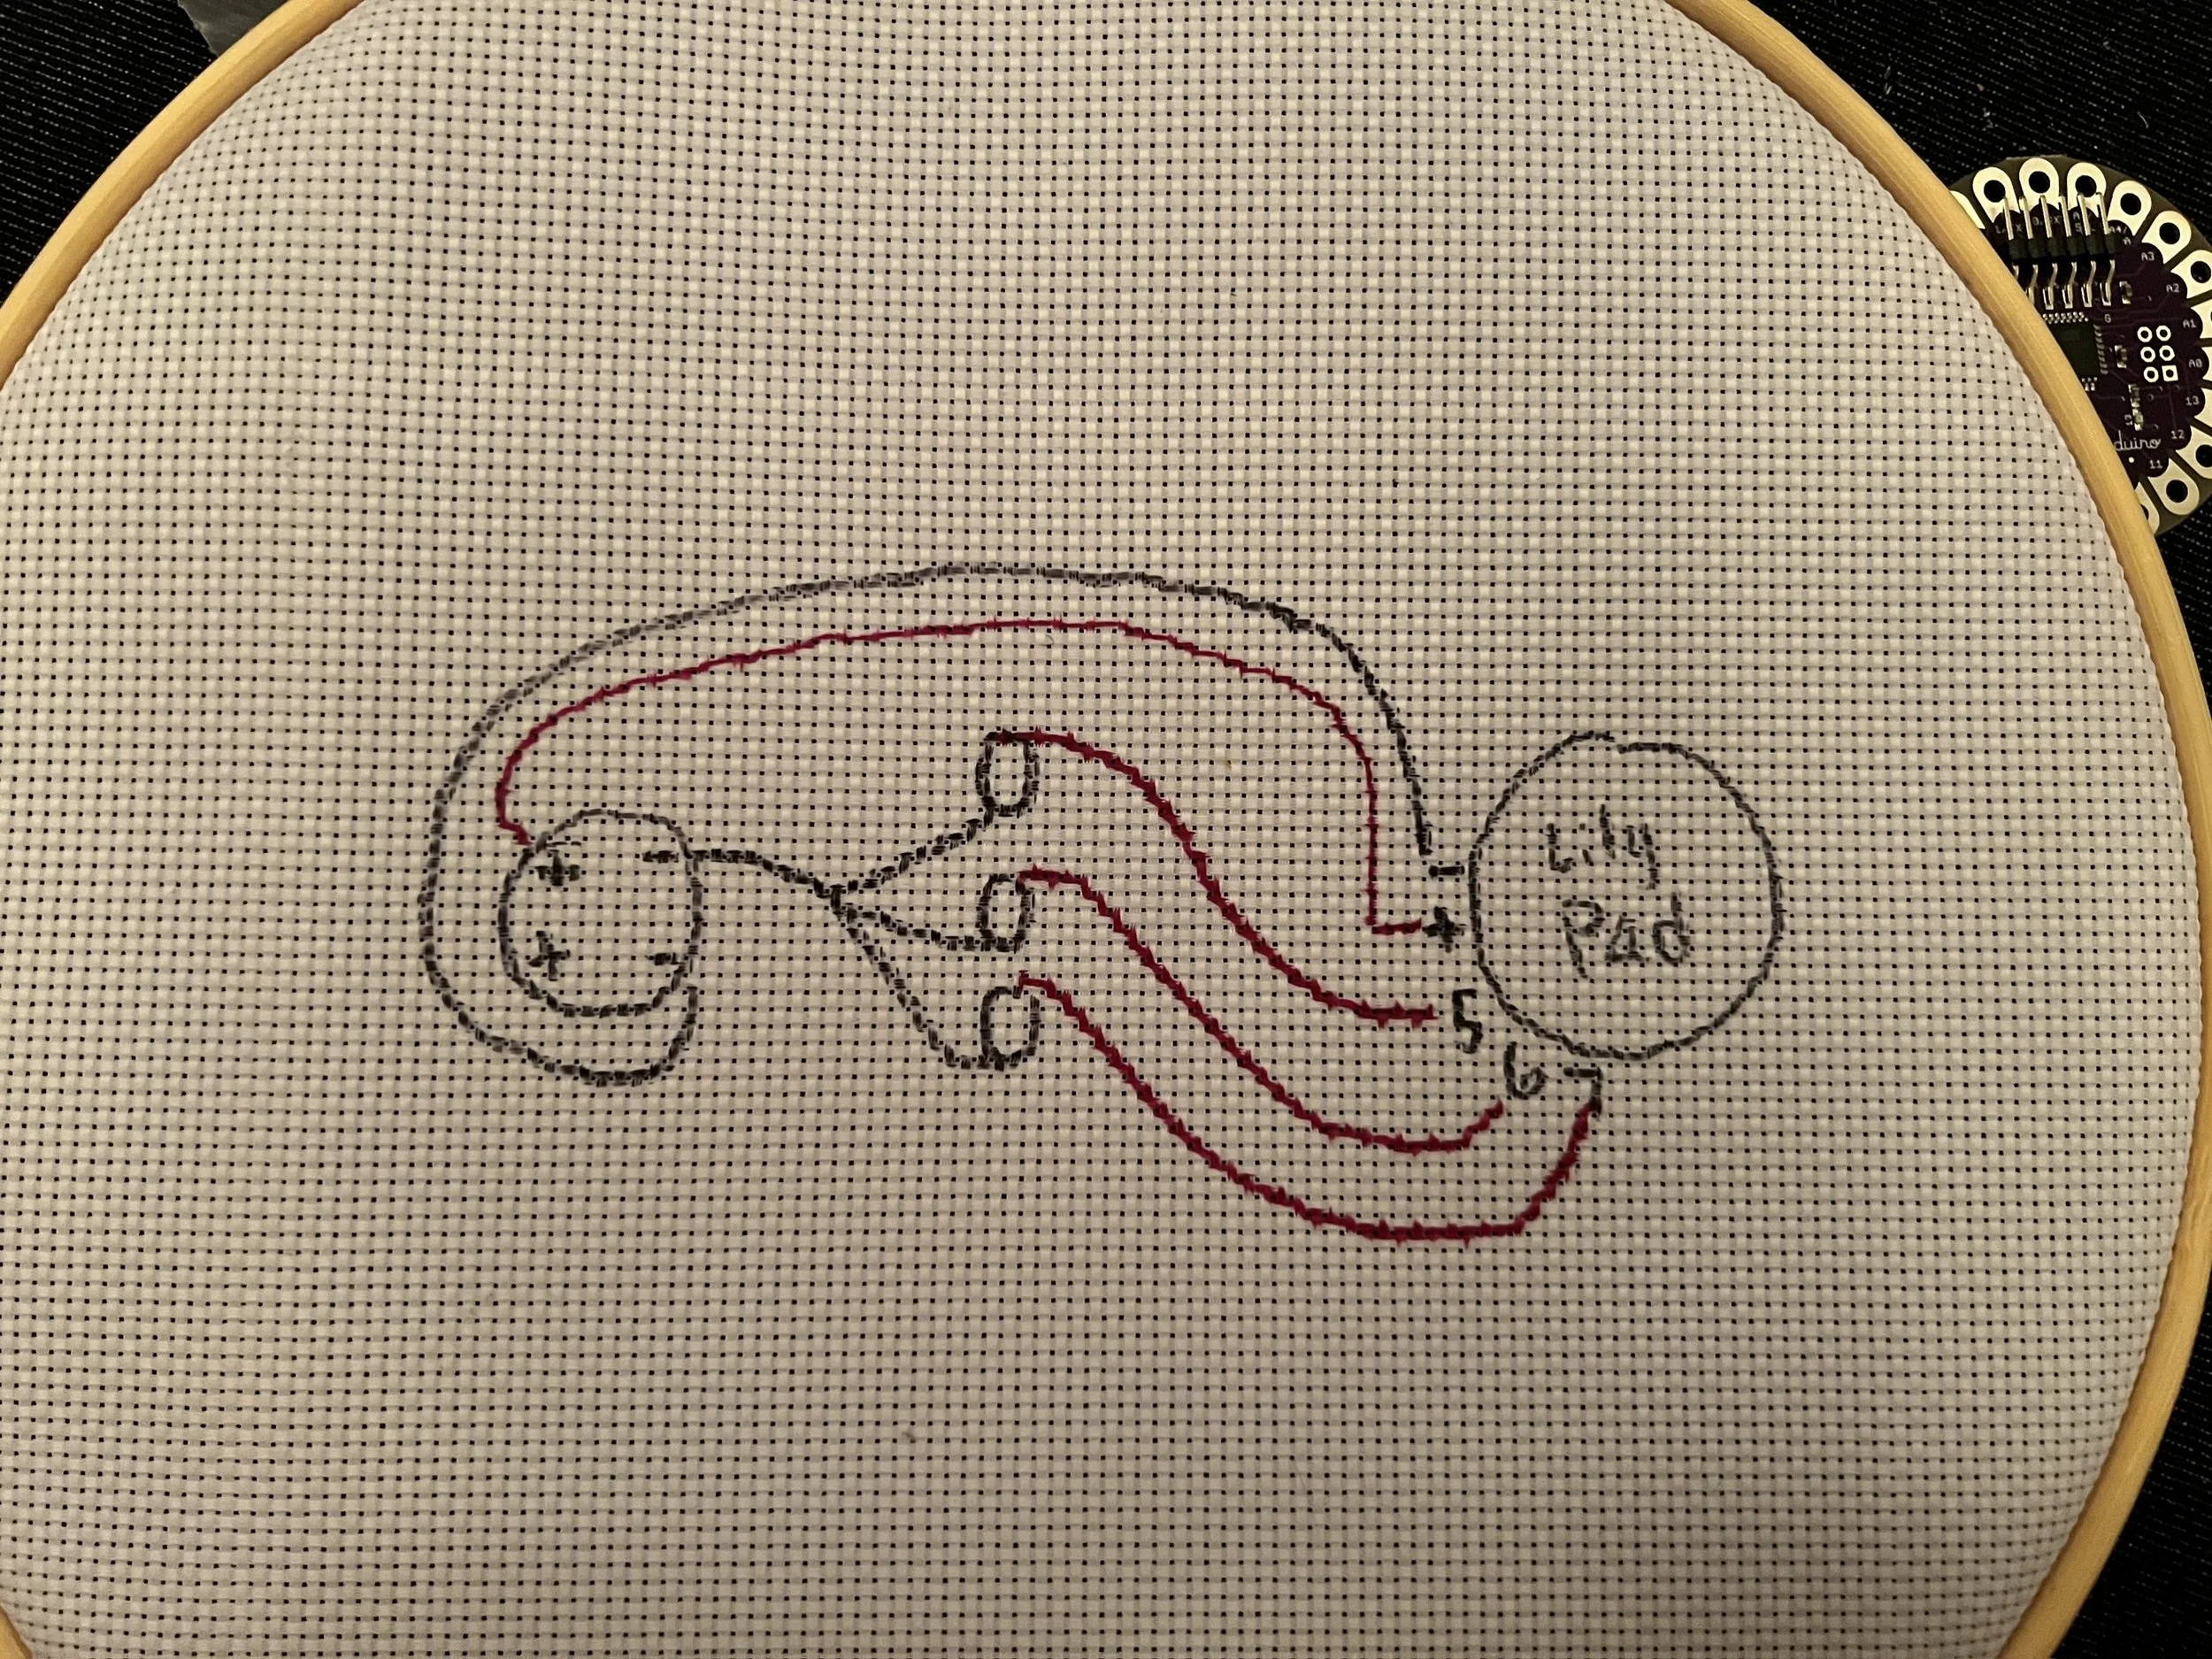
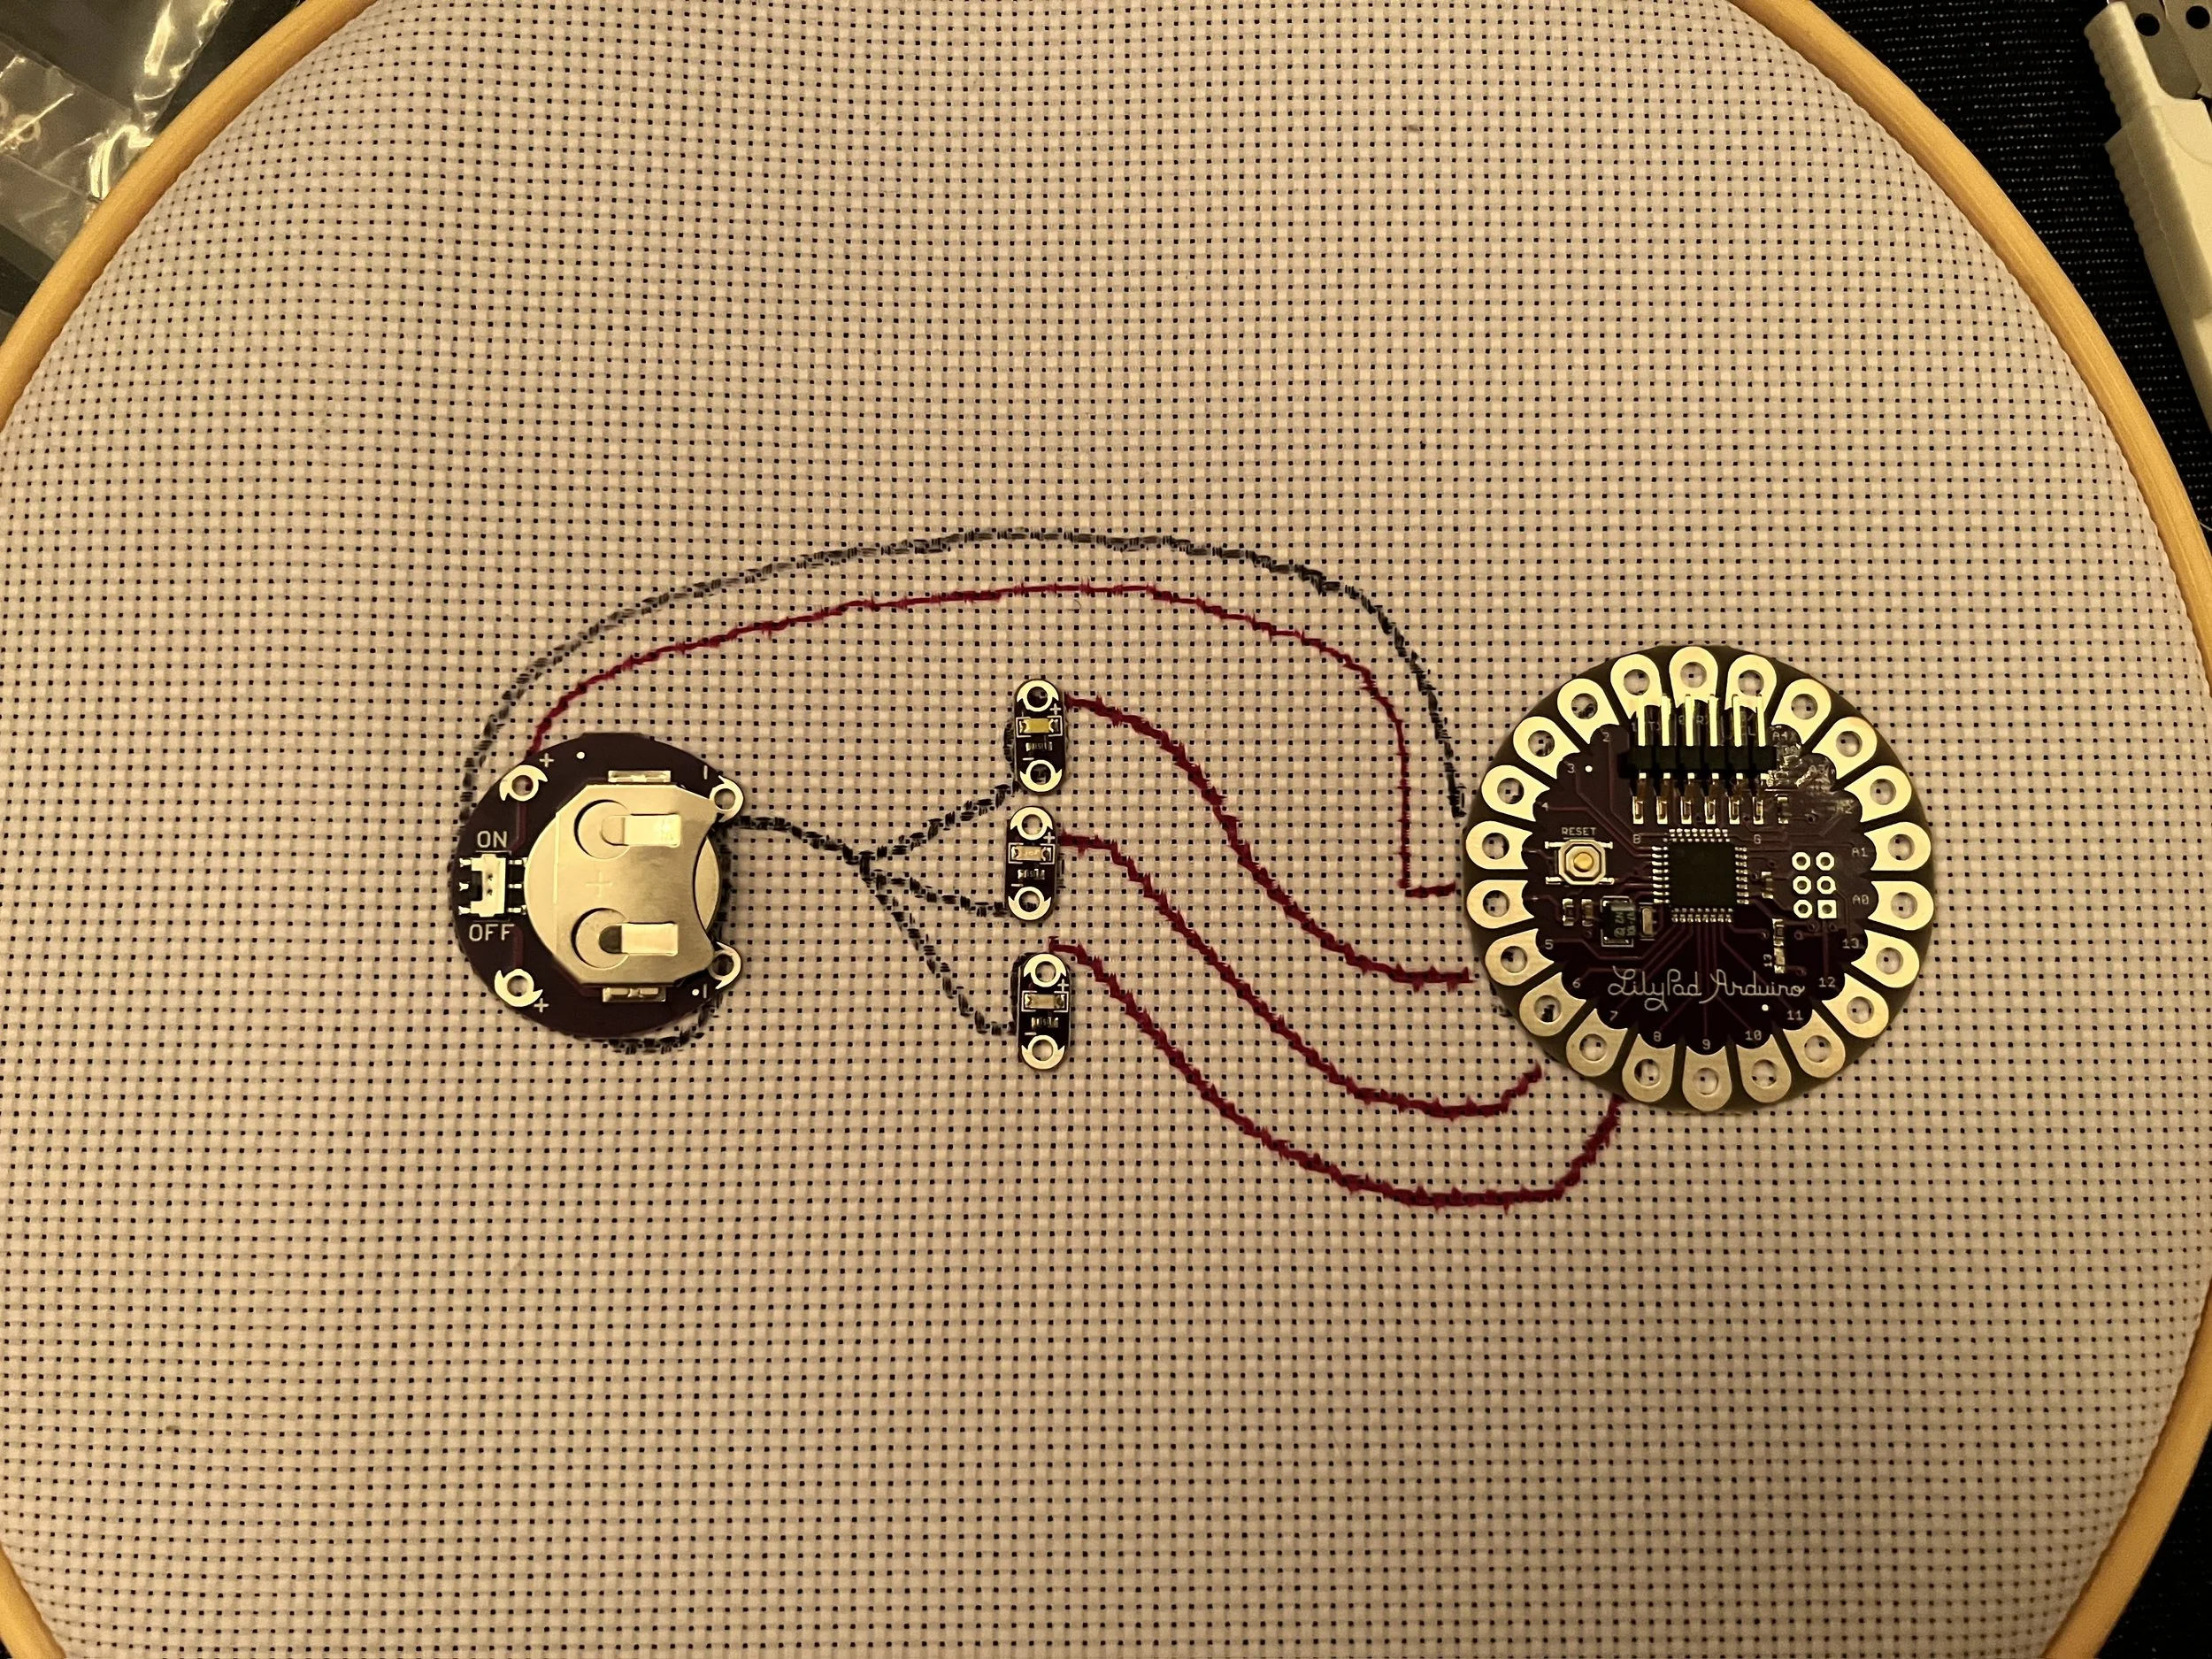
I am a very visual person, especially when working with textiles, so I loved being able to map out my circuit by drawing straight onto the fabric. This was the plan for my earliest test, using an embroidery hoop to keep the fabric taut and testing that I could get power and rudimentary light control attached to fabric.
This initial circuit was testing three lights, one each on pins 5, 6, and 7, and powering them and the LilyPad through cell battery.
Test 1: It works!
However, the battery died pretty quickly, and the lights weren’t bright enough to be seen in a bright room, so I decided to pivot slightly, and plan on powering the LilyPad through its power cable, hooked up to a computer or power bank rather than a self-contained battery.
My next step was to sew the mask cover I would mount the lights and LilyPad to. I knew I wanted this to be something that would go over an existing mask for two reasons: one, that way I didn’t have to worry about my mask being medically effective at reducing Covid transmission, and two, the N95 would act as built in insulation, so I wouldn’t have electricity flowing into my face, nor would I have to line the mask and close off the circuit from further edits.
My next step was planning out the circuit map I would use for the mask. After using three for my preliminary test, I had 37 lights left to mount: 14 white lights, 9 blue lights, 9 green lights, and 5 pink lights. Given that the LilyPad has 12 available digital (GPIO) pins, I mapped these 37 lights into 12 different regions, making sure that the colors made sense together (as each grouping would only be able to be turned on or off together, with no individual light control). After mapping the lights, I drew out the rest of the circuit, marking positive and negative with red and black, respectively, and being sure to leave enough room between them that the stitching would be possible.
Once I had a plan of exactly how my circuit would be laid out, I moved to the mask cover and drew it all out on the back of the fabric, using different color markers to keep my planning straight. First I divided the mask into the 13 different regions (12 for the groups of lights as mentioned above, and one for the LilyPad itself) using my orange marker, and then traced the LilyPad and where each of the pins was. I wrote B, W, G, and P for each of the different colored lights, and then drew on the circuit with pink for positive, and black for negative. With so many un-insulated connections in such a small area, I had to be really meticulous with making sure that the connections would work and not cross one another. One big help with this was grounding everything to one central ground line, which freed up room for the positive lines.
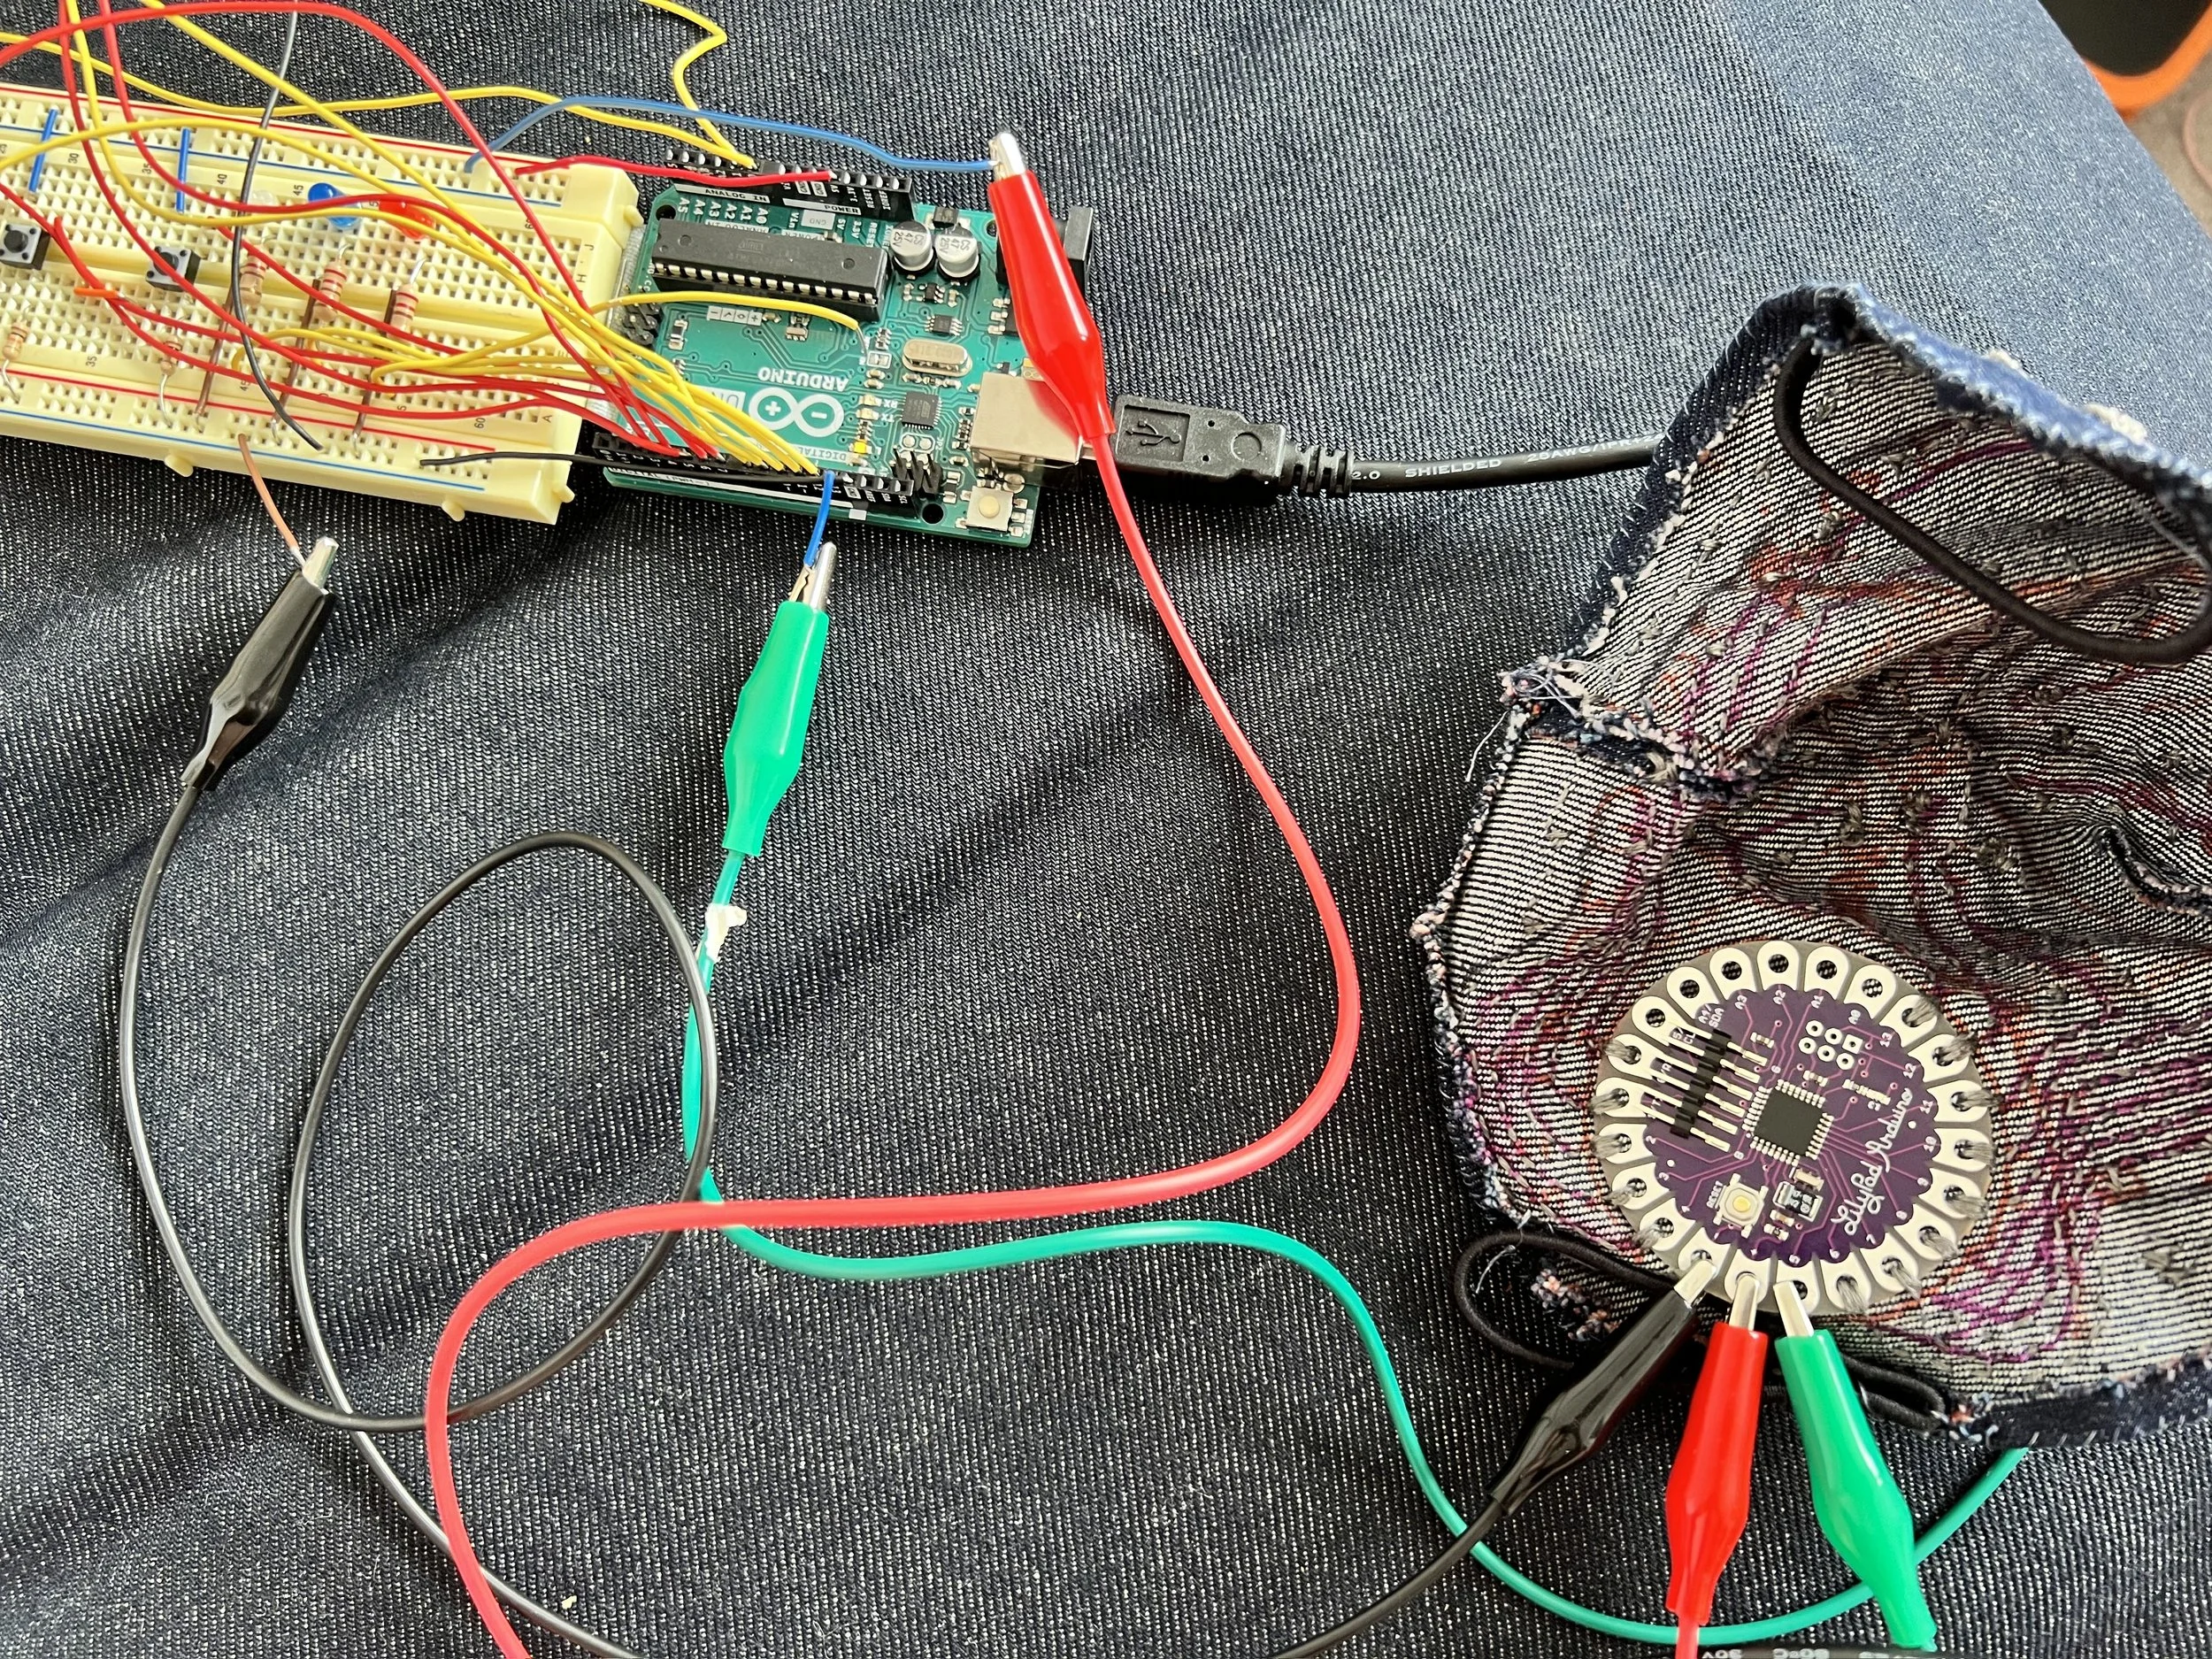
After all of the circuits were carefully sewn in accordance with the drawn circuit plan, I tested different light patterns and looks by interfacing the LilyPad with an Arduino UNO which was already running working code. I also tested out a few other components at this stage, for use in future developments, such as button control and adding lights mounted elsewhere.
I then coded some purpose-built programs for the mask itself, allowing for control of specific colors, patterns, and combinations of the two.
Here is an excerpt of my piece, Anthelion, which utilizes the Light Mask to control rapidly moving sine tones. This performance was the debut of the Light Mask, in which I use it alongside another instrument I created, the Light Accordion.


